ClickUp Dashboard
I have already talked about my favourite management tool – ClickUp. But did you know they have recently launched new feature – Dashboard? Learn more about this feature and how to use it in this article!
100 uses of Dashboards are available on the Free Forever Plan. Uses include the following actions:
- Create a Dashboard
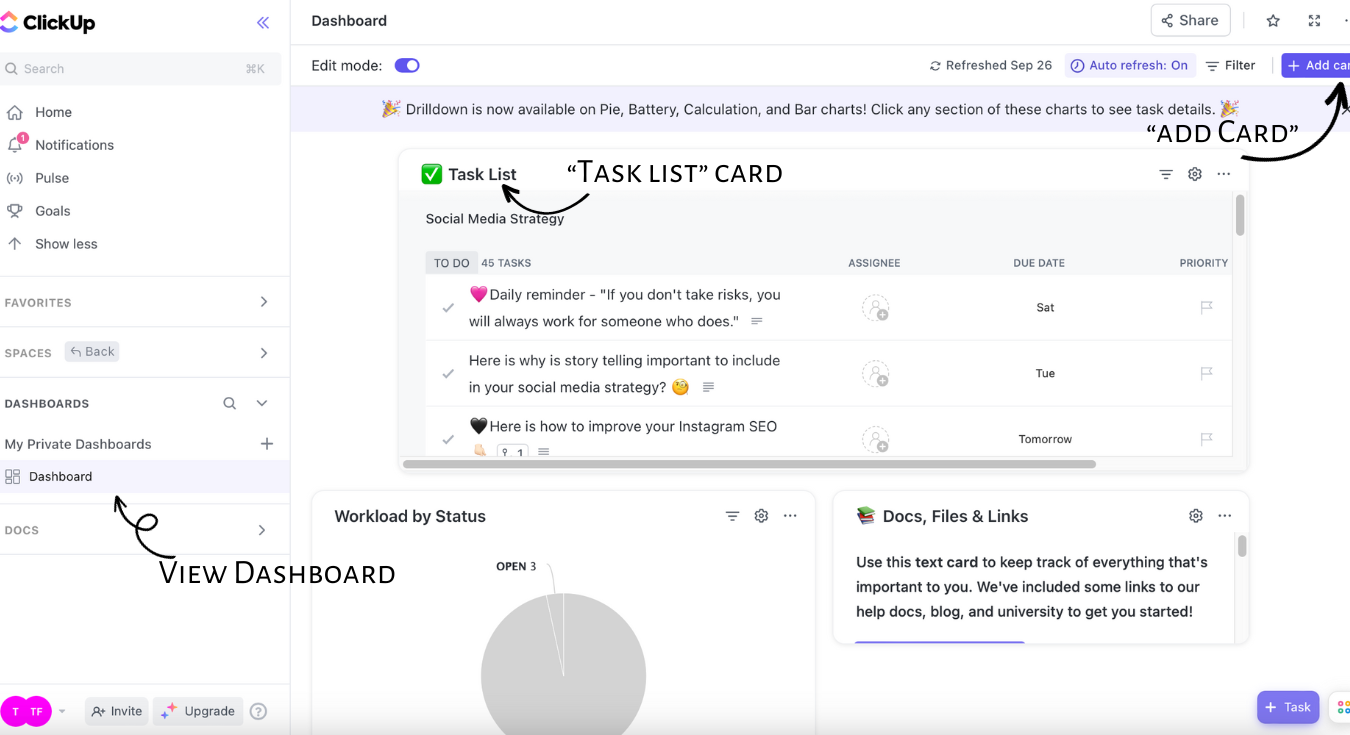
- View a Dashboard
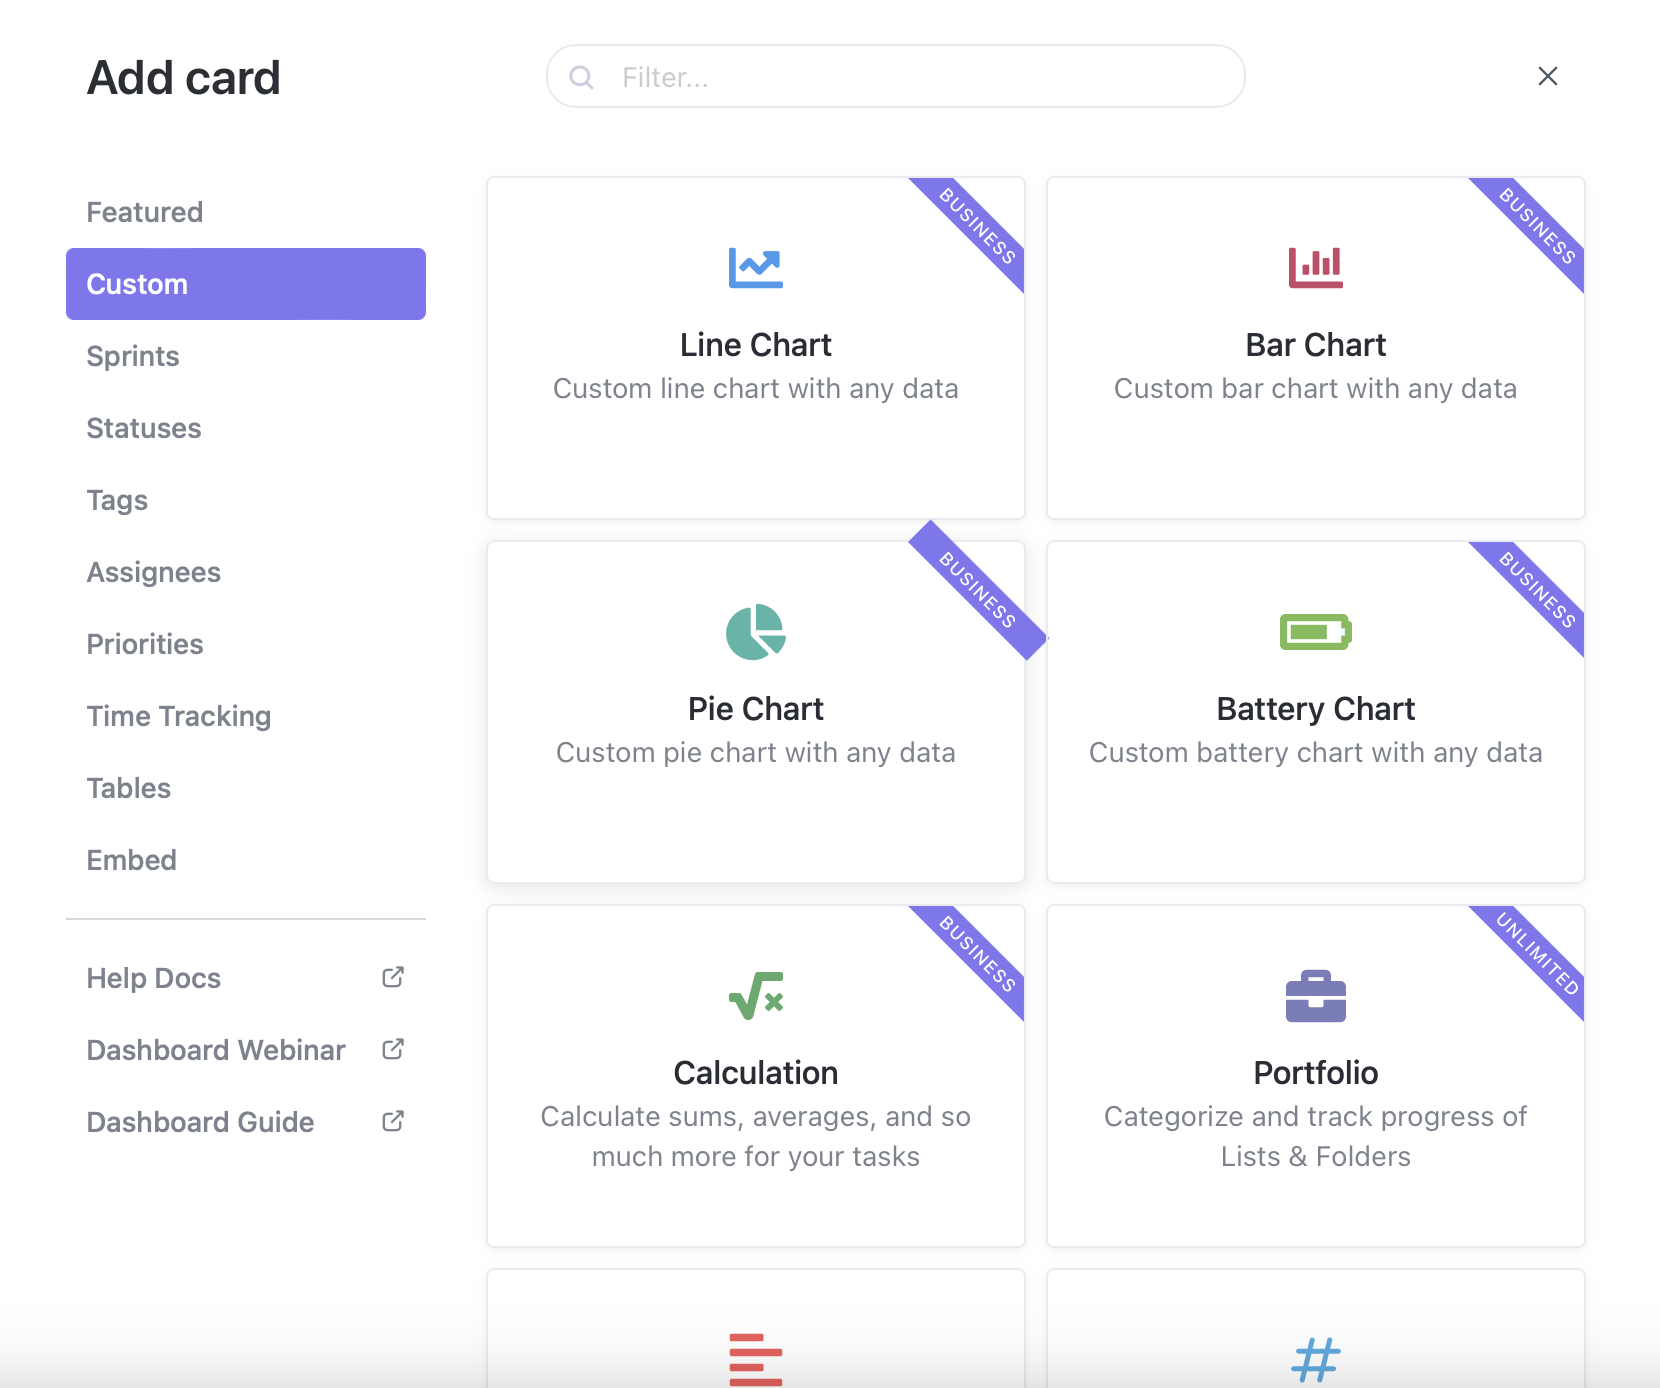
- Add a card
- Edit a card
- Remove a card
-
Remove a Dashboard
Most of the ClickUp Dashboard features are included in a free plan. ClickUp premium will offer wider selection of cards and dashboard options. You can try premium with a free trial.
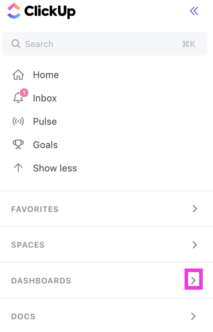
You can access Dashboards in the Sidebar of your Workspace.
-
Open Dashboards to display the following Dashboards categories:
- Favourite Dashboards: Dashboards you’ve added as favorites.
- My Private Dashboards: Private Dashboards you’ve created.
- Dashboards I’m Sharing: Dashboards you’re sharing with others.
- Dashboards Shared With Me: Dashboards that are shared with you.
2. Click the expand icon next to any category to see individual Dashboards.
Rename, share, favorite, or delete Dashboards.
Create and manage your Dashboards from the Sidebar using the Dashboard settings menu.
Click the ellipsis … next to any Dashboard to choose from the following options:
- New dashboard: Create a new Dashboard.
- Sharing & Permissions: Manage access to the Dashboard.
- Rename: Rename the Dashboard.
- Duplicate: Duplicate the Dashboard.
- Favorite: Add the Dashboard to your Favorites and the Favorite Dashboards category in your Sidebar.
- Delete Dashboard: Delete the Dashboard.
- Users cannot delete Dashboards created by someone else unless the Dashboard is public or being shared with them. If a Dashboard is public, users are able to delete it after they make it private. If a Dashboard is shared, users with full permissions can delete it.
- Items in the Trash are kept for 30 days before being permanently deleted.

